
How to Install DeepSeek Harness (dsh): Requirements, npx, Source Build and First Run
Installing DeepSeek Harness takes one command once Node.js is on the machine: npx @deepseek-ai/dsh web downloads the package, starts the Web UI on http://127.0.0.1:3080 and opens it in your browser. That command, and every version number on this page, was verified against dsh-v0.1.2-rc.1 on September 3, 2026 against the project README.
DeepSeek Harness itself is free and MIT-licensed — you pay only for the model tokens it spends. It is also an early build, so treat any working setup as something worth pinning rather than something that will survive a month of updates untouched.
This guide is published by DSH Field Guide, an independent community resource. It is not affiliated with, endorsed by, or operated by DeepSeek — “DeepSeek” and “DeepSeek Harness” are trademarks of their owner. Everything below traces back to official sources: the repository, the release page, and the DeepSeek documentation.
Before you install: what DeepSeek Harness actually requires
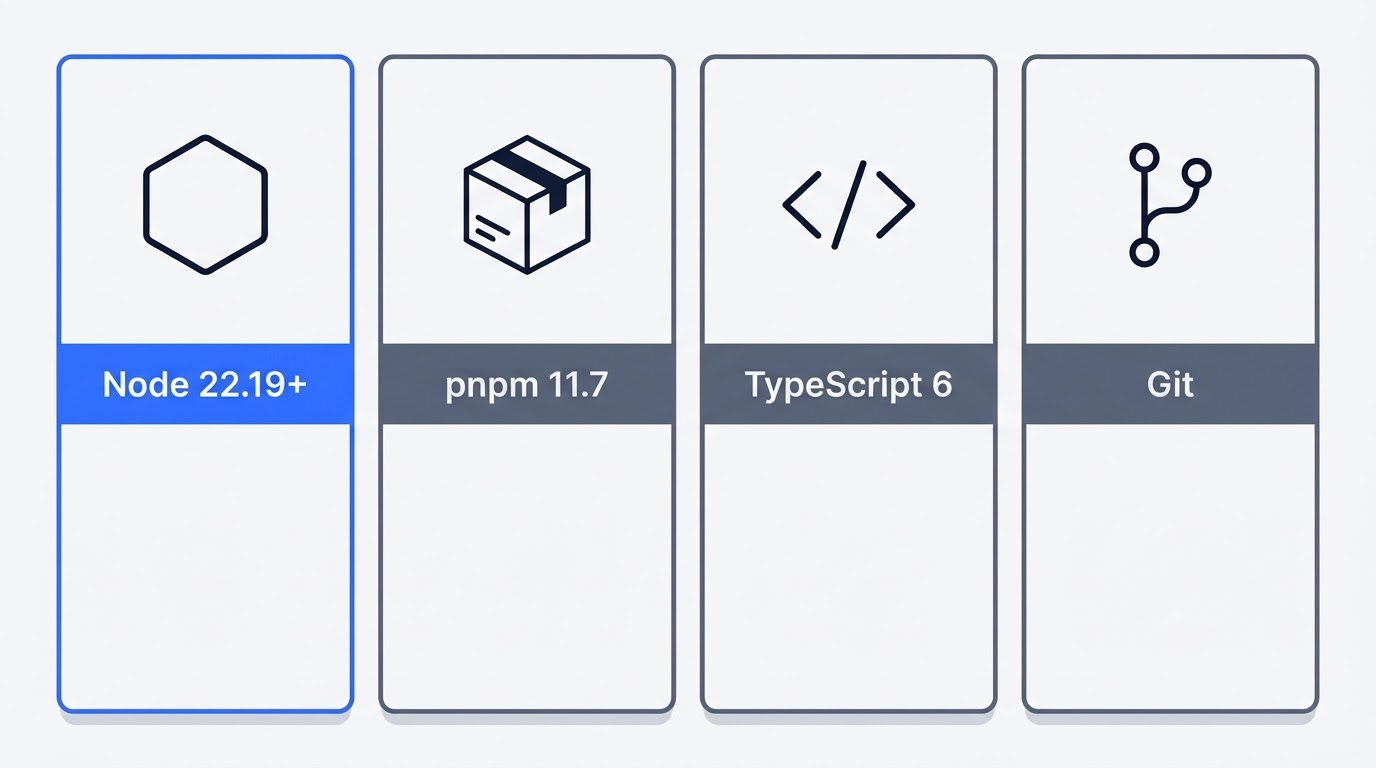
The requirements are short, and most people who hit trouble hit it because they skipped the first row of this table.
| Component | Requirement | Needed for |
|---|---|---|
| Node.js | ^22.19.0 or >=24.0.0 | npx and global install |
| pnpm | 11.7.0 | source build only |
| TypeScript | 6.x (dev dependency) | source build only |
| Git | any recent version | source build only |
| Disk | roughly 134 MB for the repository | source build only |
Those Node versions are not a recommendation — they are the engines.node field in the repository’s package.json. A Node 20 install will refuse or fail in confusing ways, which is the single most common cause of a broken first run.
If you only want to run dsh, Node.js is the entire list. pnpm, TypeScript and Git matter only when you clone the repository and build it yourself.
Read the safety notice before the first launch. The README makes this an explicit instruction rather than a suggestion, and the reason is structural: dsh is an agent that runs commands and edits files inside whatever working folder you point it at. The SAFETY.md file explains what the agent is allowed to touch and how approvals work.
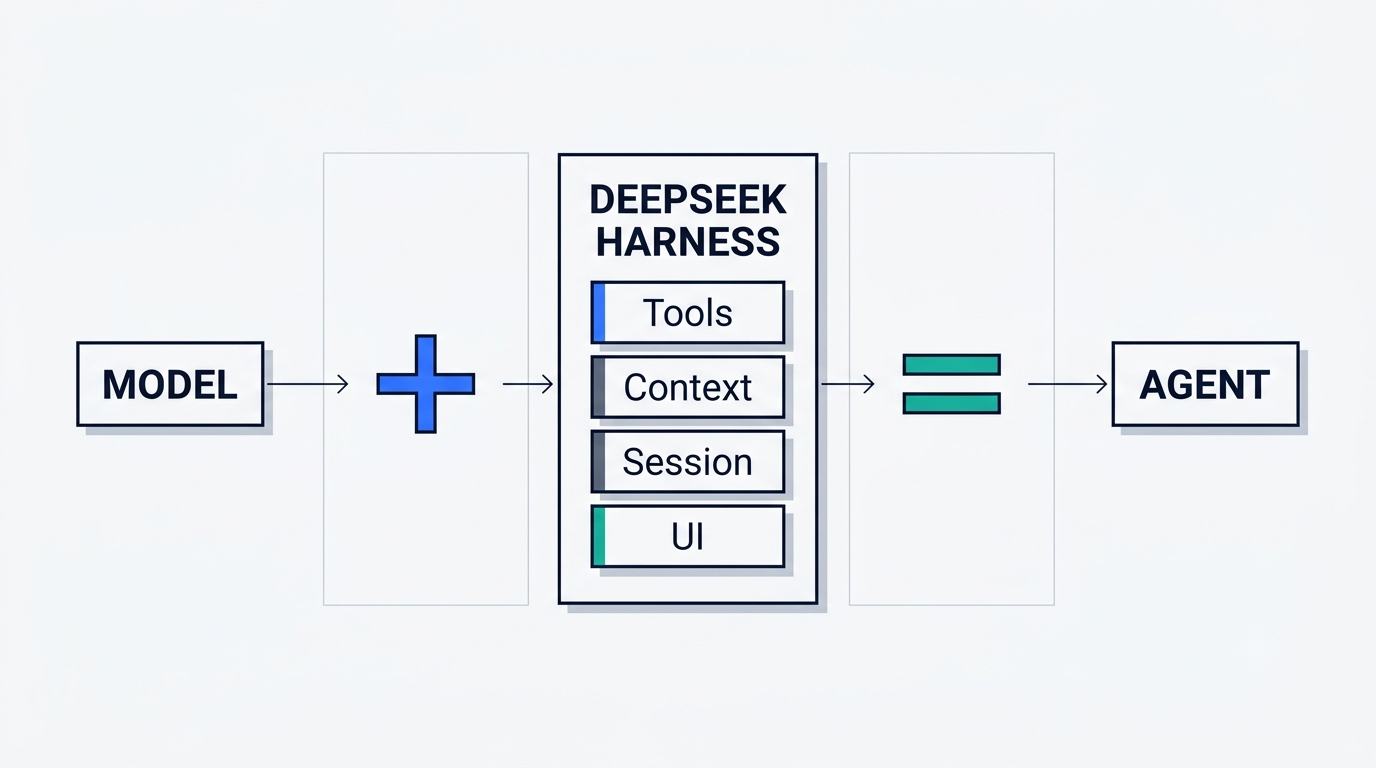
Know what you are installing. DeepSeek Harness is the runtime layer around a model — planning, tool calls, context management, sessions, permissions, interface — built on the Cordis plugin kernel under an everything-is-a-plugin design. That matters for installation because almost every capability arrives as a plugin you can add later, so the base install stays small.
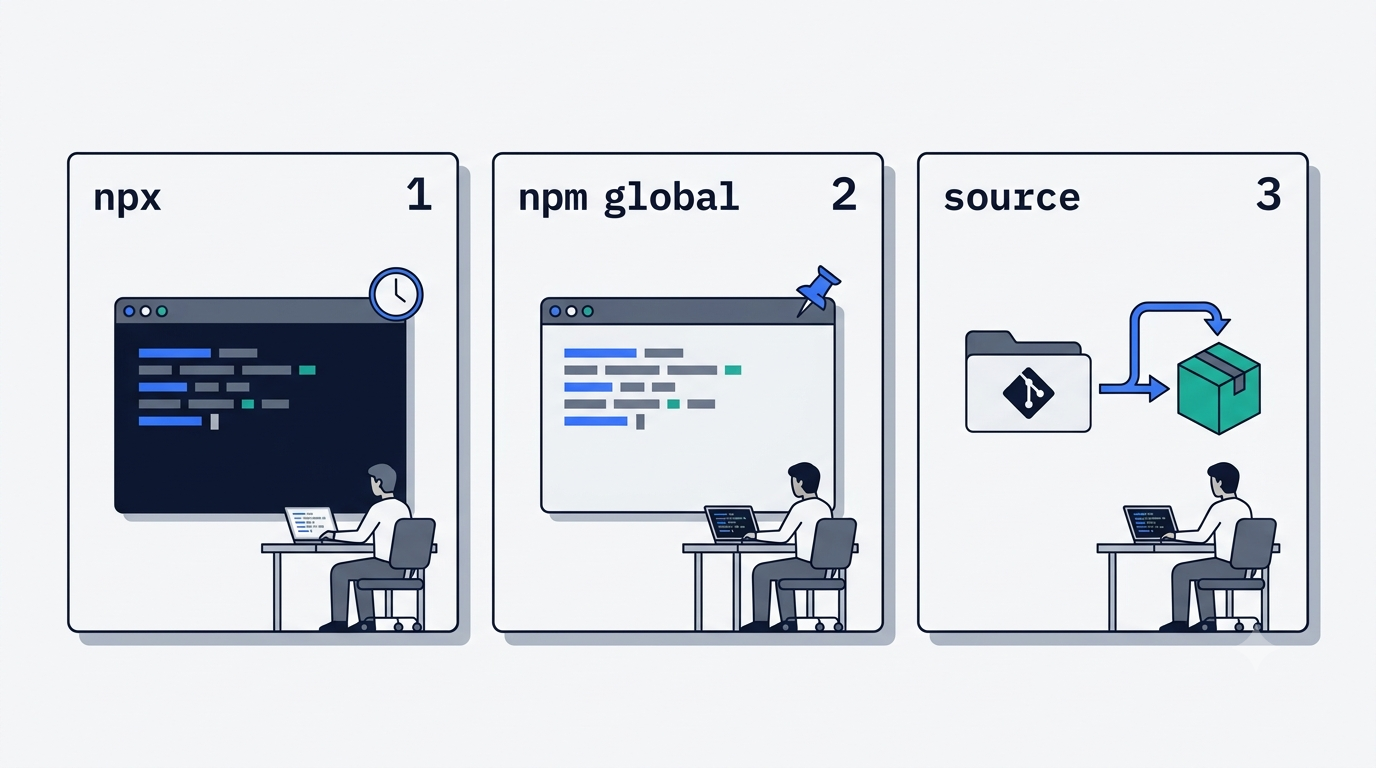
The fastest path: run it with npx
For a first look, skip installation entirely. npx fetches the package, runs it, and leaves nothing permanent behind.
npx @deepseek-ai/dsh webThe command starts the Web UI at http://127.0.0.1:3080 by default and opens it in your default browser. Nothing is written into your global npm prefix, so if you decide dsh is not for you, there is nothing to uninstall.
Two behaviours surprise people on remote machines. Pass --no-open to start the server without launching a browser — the right choice on a box with no desktop. And when you launch over SSH, dsh prints only the host URL rather than a clickable local address, because the forwarded local port belongs to your SSH client or editor, not to the dsh process. The server binds to 127.0.0.1; it does not publish itself to the network on its own.
Windows is where the npx route goes wrong most often — memory failures during dependency resolution, install times measured in tens of minutes, symlink problems on a second launch.
Installing globally with npm
If DeepSeek Harness earns a place in your daily work, install it once and drop the npx prefix:
npm install -g @deepseek-ai/dsh
dsh web
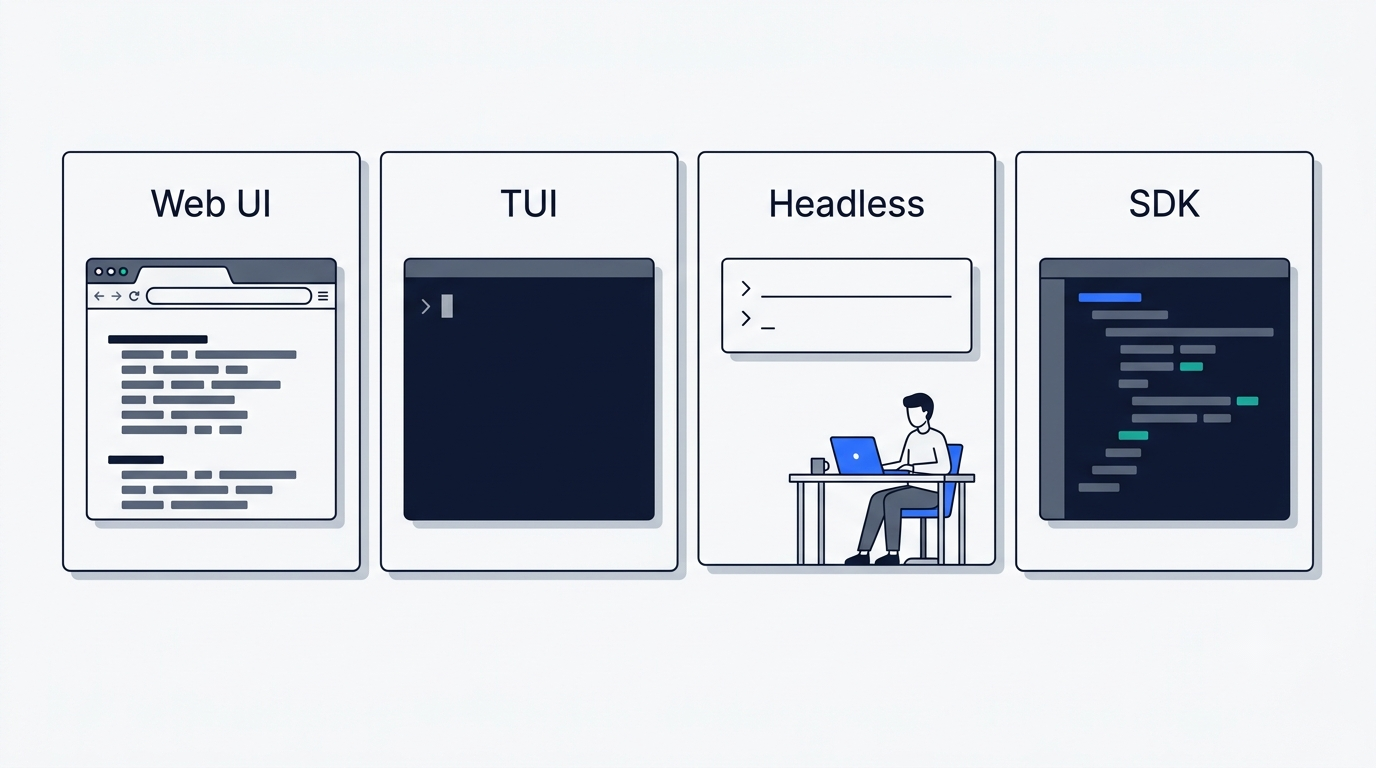
A global install gives you the dsh binary, and with it the profile system. A profile is a preset bundle of plugins, and switching profiles is how you change the entire shape of the tool without reinstalling anything.
| Command | What it gives you |
|---|---|
dsh web | Full graphical Web UI on 127.0.0.1:3080 |
dsh --profile tui | Terminal interface |
dsh --profile headless "your task" | One-shot run: executes, prints the result, exits |
dsh --profile web --dump-config | Prints the assembled plugin and config tree |
The headless profile is the one that matters for automation — it is what you call from a script or a CI job, since it never waits for interactive input. The --dump-config flag is the diagnostic you will reach for constantly: it prints the configuration tree that was actually assembled at startup, which is the only reliable way to see which plugins loaded and with what settings.
Building from source
Clone the repository when you want to read the code, write a plugin against it, or chase a bug that only reproduces on the tip of master:
git clone https://github.com/deepseek-ai/deepseek-harness.git
cd deepseek-harness
pnpm install
pnpm run build
pnpm dsh web
The last two commands are separate on purpose. pnpm run build prepares the repository artifacts; pnpm dsh web runs those built artifacts without rebuilding them. Once you have built successfully, day-to-day launches are just the second command, which is why source runs feel fast after the first slow one.
There is a practical side effect worth knowing: the same dependency tree that can take many minutes through npm on some machines installs in seconds through pnpm. If a package-manager-level install is crawling, the source route is sometimes the faster path rather than the harder one. The wider picture of what dsh harness does with all this is on the guide’s front page.
The repository is a pnpm monorepo — applications live in apps/cli and apps/web, and the capabilities live across more than 200 package groups under packages/, all named @deepseek-ai/dsh-<name>, with Cordis itself vendored into vendor/.
Python SDK and TypeScript SDK
Not every use of DeepSeek Harness starts with a browser window. Two SDKs let you drive it from your own code.
The Python route is a genuinely separate installation path rather than a wrapper over the CLI:
pip install deepseek-harness-sdkThe distribution ships its own runtime, which means a system Node.js installation is not required for the Python SDK at all. Version 0.1.2-rc.1 added a Windows x64 build, so the SDK is no longer effectively Unix-only. Usage follows a context manager:
from deepseek_harness import DeepSeekHarness

with DeepSeekHarness(provider="deepseek-official", model="deepseek-v4-pro",
                     cwd="/path/to/project", session_root="/path/to/sessions") as harness:
    result = harness.run("describe what this repository does")
The TypeScript SDK lives in the packages/sdk group of the monorepo and runs dsh inside your own process instead of spawning a server — the natural fit when your surrounding application is already Node-based. The official documentation carries the current interface, which is worth checking rather than assuming, given how fast the preview moves.
First run: connect a key and pick a folder
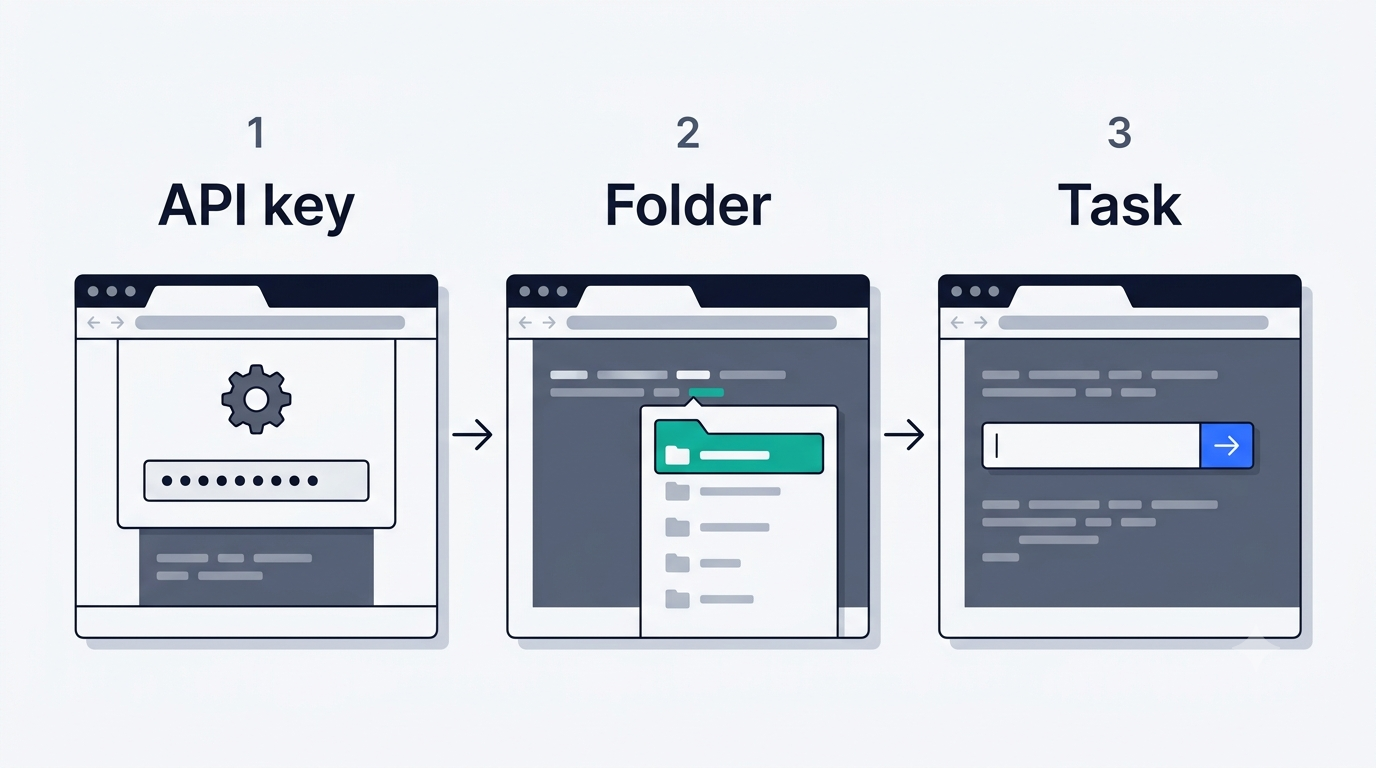
A fresh install has no credentials and no working directory, and it will not accept a task until both exist. The first-run sequence is short:
- Open
http://127.0.0.1:3080in your browser. - Go to Settings, then Models.
- Paste a DeepSeek API key from platform.deepseek.com/api_keys. The model route activates immediately — no server restart.
- Add a working folder and select it. Until a folder is selected, the task input stays disabled.
- Type a small task and send it.
Step four catches almost everyone. A greyed-out input box reads like a broken install, when it actually means no working folder has been chosen yet.
Your key is written to $DSH_HOME/.credentials.yaml and displayed masked in the interface, so it does not sit in your shell history or in a project file that might get committed.
You are not locked to DeepSeek’s own models. Two adapters ship in the packages/llm group: @deepseek-ai/dsh-llm-deepseek provides the direct deepseek-official route with thinking mode and reasoning effort, while @deepseek-ai/dsh-llm-pi-ai can point at any OpenAI-compatible gateway or self-hosted server described purely in configuration, with OAuth login supported. Running against Ollama, vLLM or LM Studio is a config change, not a fork.
For the official route, the base addresses are https://api.deepseek.com in OpenAI format and https://api.deepseek.com/anthropic in Anthropic format. Current model names in the API documentation are deepseek-v4-pro, deepseek-v4-flash and the experimental deepseek-v4-flash-vision-exp, with a 1M-token context window and up to 384K tokens of output.
Checking that the install actually works
A smoke test takes half a minute. From the Web UI, select a folder and ask the agent to read a single file. From a terminal, the headless profile does the same thing without a browser:
dsh --profile headless "list the files in this folder and summarise what this project does"Healthy signs are easy to spot. The Web UI shows live statistics that most comparable tools hide — tokens per second, cache hit rate, number of turns, elapsed time — and --dump-config prints a complete plugin tree rather than an error. Every run is also written to an append-only session log covering system prompts, reasoning, tool calls and their results, which is what makes resume, fork and replay possible.
Failures tend to be specific rather than vague. Messages like unknown tool, failed to load plugins, a context length that does not match what you configured, or a 400 from the API on orphaned tool calls each have their own distinct cause worth tracking down individually rather than treating as one generic “install broke” problem.
Updating, pinning and removing
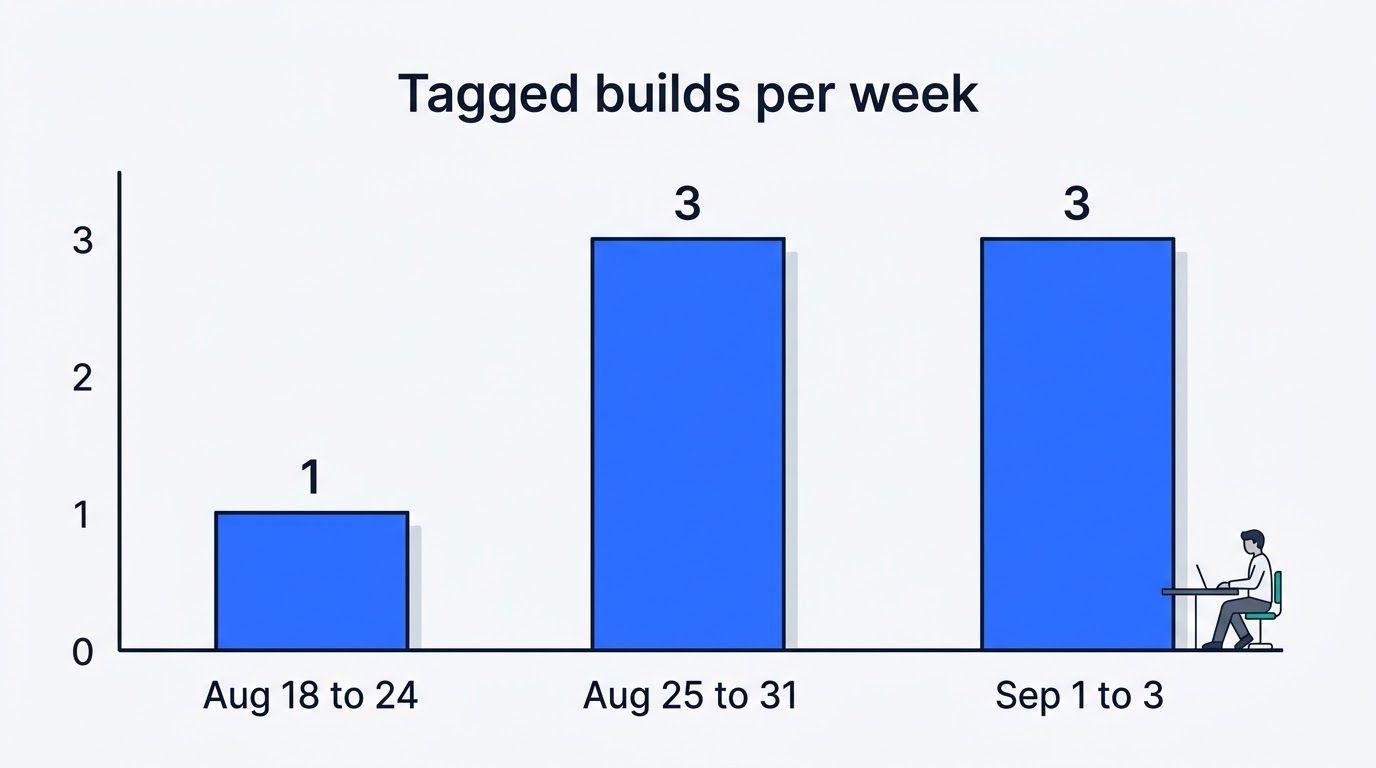
The release cadence is the main thing to plan around. This is what the tags looked like on the releases page on September 3, 2026:
| Tag | Date |
|---|---|
| dsh-v0.1.2-rc.1 | 2026-09-03 |
| dsh-v0.1.2-alpha.5 | 2026-09-02 |
| dsh-v0.1.2-alpha.4 | 2026-09-01 |
| dsh-v0.1.2-alpha.3 | 2026-08-31 |
| dsh-v0.1.2-alpha.2 | 2026-08-30 |
| dsh-v0.1.2-alpha.1 | 2026-08-27 |
| dsh-v0.1.1-rc.2 | 2026-08-21 |
That is close to a build a day, on a project whose own README does not hedge about what that means:
DeepSeek Harness is in developer preview and iterating rapidly. THERE WILL BE COMPATIBILITY-BREAKING CHANGES.deepseek-ai/deepseek-harness README
Updating a global install is npm install -g @deepseek-ai/dsh@latest. Pinning an exact version with npm install -g @deepseek-ai/[email protected] is not paranoia here — when a setup with custom plugins and a working configuration finally behaves, an unplanned upgrade is the likeliest thing to break it.
Removal is equally plain:
- Global install:
npm uninstall -g @deepseek-ai/dsh - npx runs: nothing to remove beyond the npm cache
- Python SDK:
pip uninstall deepseek-harness-sdk - Leftovers: your
$DSH_HOMEdirectory keeps credentials and session history until you delete it yourself
One last thing to know before you go looking for the issue tracker: there isn’t one. Issues and pull requests are disabled on the repository, and feedback runs through GitHub Discussions and the project’s Discord instead. DeepSeek Harness was announced in developer preview on August 13, 2026 by the official DeepSeek account, and the discussion boards have carried the support load since. For everything this tool does beyond getting installed, start from the DeepSeek Harness guide.